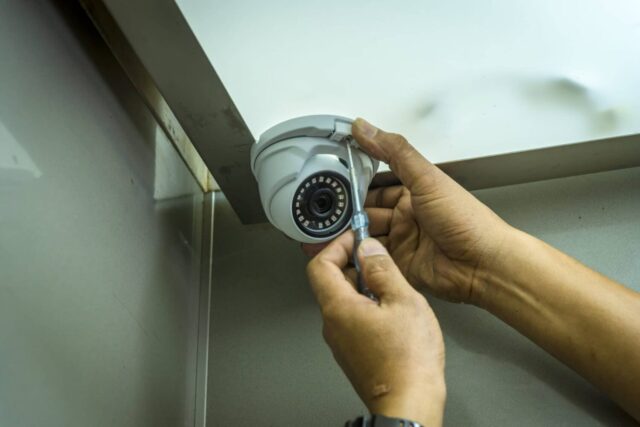
For households looking to enhance their security, a DIY security camera installation is a great option. Safety is always the number one priority and with the right equipment, you can have round-the-clock surveillance of your surroundings. Although it is possible to install CCTV cameras without professional help, it is important to be aware of potential mistakes that may result in compromised security.
Choosing the Right Security Camera
According to Home Safety Point, choosing the right security camera for your needs is essential to ensure effective coverage and protection. Consider the purpose of the camera – will it be used as a visual deterrent or to capture activity? Think about your location – do you need weatherproof cameras or ones that can be deployed indoors? Identify specific features you want – such as night vision, infrared illuminating, motion detection, and live streaming capabilities, and then decide on which type of camera works best for you.
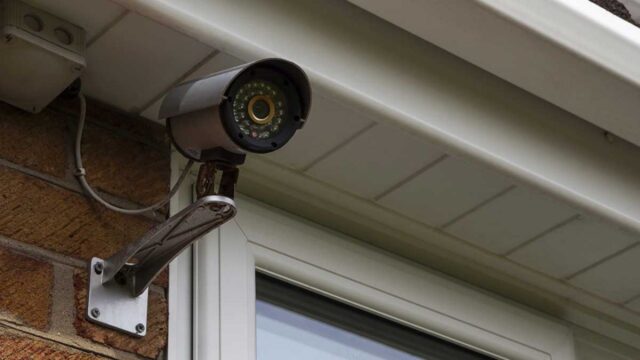
Analog systems, for example, are preferred in most entry-level applications due to their relatively low cost and ease of use. IP cameras are usually better suited for more demanding applications that require higher-resolution footage and feature-rich performance. Any combination of these two options may also work depending on your surveillance requirements.
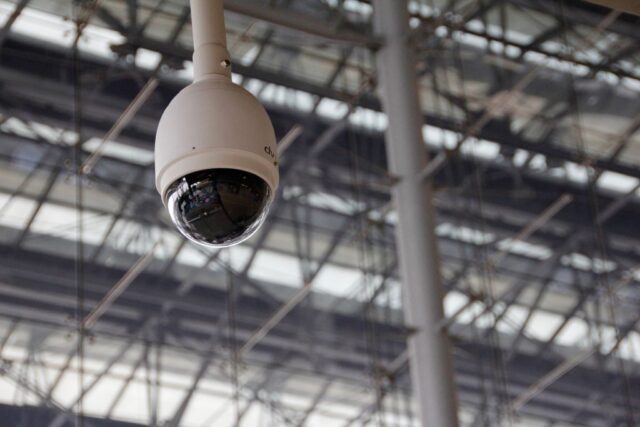
Once you’ve identified what type of security camera you need, consider available mounting options such as wall-mounted cameras, ceiling-mounted varieties, or pole-mounted models to suit any desired height or angle. You can experiment with different mounting positions until you find the ideal placement for optimum coverage. Mounting brackets should also be chosen wisely for robust installation that won’t be easily tampered with over time.
Planning the Installation Process
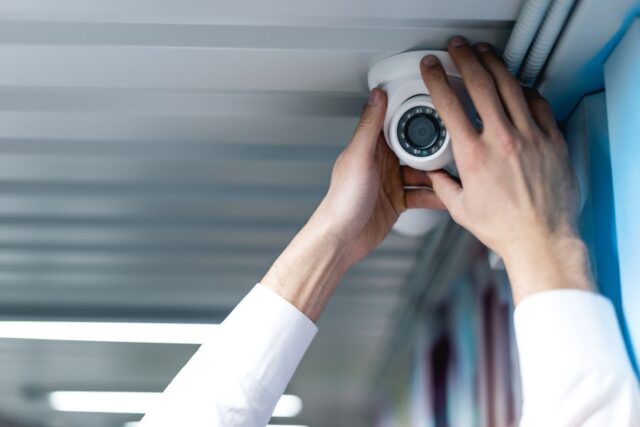
The first step to planning your installation should be figuring out where you want the cameras to be mounted. It’s best to map out a few different locations and evaluate which ones could provide optimal coverage. Once you’ve mapped out these locations, make sure they are technically feasible so that they can be physically mounted without any issues or dangers due to high ceilings or uneven surfaces.
You should also plan how you want your surveillance footage stored—in a digital format or through analog systems such as VHS tapes, etc. This will also factor in when selecting cameras since some may not be compatible with specific storage media — for example, some digital models require a hard drive for storing video footage. Additionally, if your video feed will span multiple rooms and areas across your facility, select specifically designed products that are built for long-range surveillance applications.
Finally, take into account any additional tools and resources that may prove helpful during the installation process — ladders or power tools could come in handy!
Installing the Camera
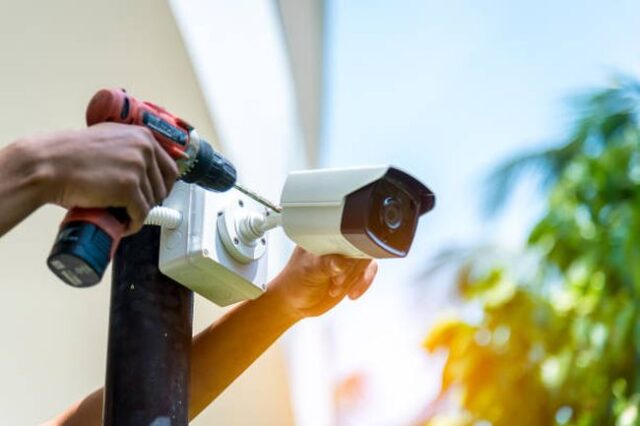
Here are some tips to help you along the way:
- Read the Instructions Carefully: Before starting the installation process, read through all of the documentation that came with your device. This will give you an idea of what is involved, including any safety precautions and specific steps for different types of cameras.
- Aligning Your Device: You want your view to be exactly where you need it, so make sure to mark positions on walls or ceiling surfaces to have a clear reference point when mounting the camera(s).
- Using Professional-Grade Hardware: When installing units outdoors, always use professional-grade hardware such as weatherproof conduit boxes, mounting brackets, and water-resistant sealant to ensure proper protection from outside elements like rain and snow.
- Securing Cables and Connectors: Make sure all cables are tightened securely with no slack in them to avoid the signal loss or interference due to friction or electrical interference from other equipment nearby. Also double-check that all connectors are tight before powering up the camera system.
- Setting Up Wi-Fi Access: When setting up Wi-Fi access for multiple cameras, having one main access point is usually recommended to ensure optimum performance across all channels simultaneously when multiple streams run at once. Use encrypted networks for added protection against unwanted intruders accessing your data stream remotely!
Setting Up the Recording System
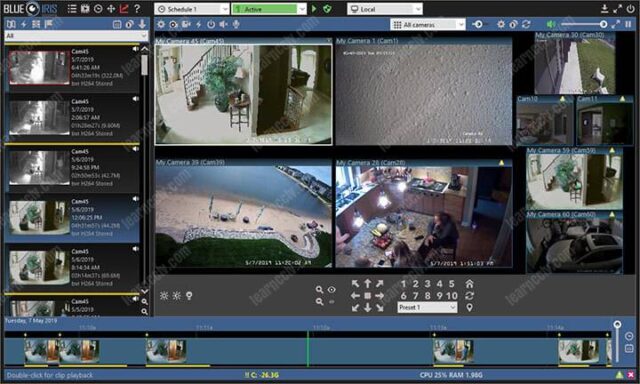
Once the devices have been installed and the wiring has been connected, it’s time to set up your recording system. This system is the brains of your operation, as it handles all image capture and processing, stores recordings, and allows you to access footage remotely.
When selecting a recording system, be sure to consider the following:
- Type of Recording: Do you want live or recorded? Live monitoring allows you to watch as events occur in real-time, while recording lets you store video for later use. Some systems allow for both life and recorded recording.
- Storage Capacity: How much footage will need to be stored at any given time? Most systems come with a pre-determined storage capacity that can be increased if needed.
- Number of Cameras Compatible: How many devices are supported by the system? Make sure the number is compatible with your setup so you won’t have to buy additional equipment down the road.
- Image Quality/Resolution: Be sure to check that your security camera’s resolution is compatible with the recording device being used. Higher resolutions generally lead to sharper images and more detail during playback.
- Accessibility Options: What options are available for remote access? Check that mobile applications are available so you can monitor everything from anywhere with an internet connection.
Once these factors have been addressed, it’s time to manually configure or install any necessary software before using test recordings to make sure everything is working properly– before relying on it in case of an emergency.
Troubleshooting Common Issues
To ensure you get the most out of your security system and avoid common mistakes, be mindful of the following considerations before you begin:
- Do your research: Before you begin, read up on all of the parts required for a successful installation. Know what type of camera system works best for your property and ask questions about any supplies or materials that are difficult to understand.
- Check your power supply: Make sure the voltage isn’t too high or low and check whether the power adapter is compatible with your camera system before connecting it. Monitor connections over time to look for draining or surges in power that could damage your cameras.
- Test footage regularly: You must review footage from all installed cameras periodically to ensure they are still functioning properly, with no loose cables or other problems impacting recording quality or clarity of footage captured in both daytime & night vision mode when applicable. You should also check regularly to see whether sun spots might affect the accuracy of motion detection outside where applicable (as sunlight & reflection can excessively trigger false alarms).
- Troubleshooting technical issues: If you’re familiar with basic network setup procedures then resolving minor network issues related to connection stability should be straightforward – try restarting your router first if there seems to be any lag/latency; otherwise use applications such as ping-test to measure latency between devices connected within a single IP range/network direction). However, more serious technical faults may require professional intervention so contact professionals for more complex technical issues beyond simple setup instructions provided upon purchase/delivery if necessary!
Conclusion
At the end of the day, installing your security camera system is a great way to take control of your home’s security while also saving money. While it may seem like a daunting task, with ample preparation and knowledge you can make sure that your security camera system works as intended.


