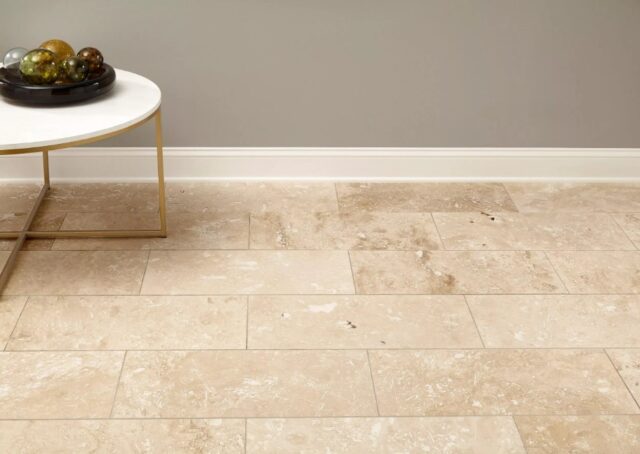
Is your travertine surface looking dull, stained, or scratched? Regular maintenance and proper care can prevent damage, but many wonder if it’s too late once wear sets in.
The good news is, that restoration is possible, and the results can be stunning.
With expert tips, you can repair, revitalize, and protect your travertine surfaces for years to come.
Key Points
- Restoration of travertine surfaces involves cleaning, repairing, and sealing.
- Polishing is essential to revive natural luster and smoothness.
- Sealing prevents stains and prolongs durability.
- Professional help ensures thorough and lasting results.
What Does Travertine Restoration Involve?
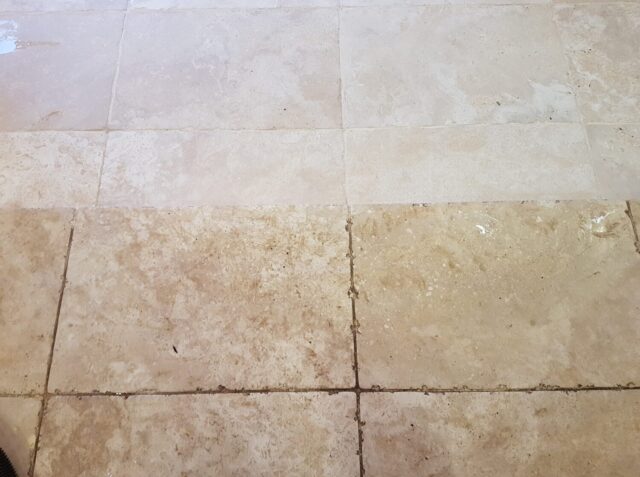
Restoring travertine involves addressing surface damage like scratches, etching, or dullness. Polishing removes imperfections while accentuating the material’s unique texture. Sealing follows, creating a barrier against stains and prolonging the surface’s integrity.
Whether dealing with floors or countertops, professional services make a significant difference. For a professional-grade result, consider services specializing in travertine restoration and polishing. Renue Systems of Hawaii offers a tailored approach for surfaces in Maui, Oahu, and the Big Island. Their gentle yet effective techniques bring life back to natural stone, ensuring it looks vibrant and remains protected from daily wear.
Signs That Your Surface Needs Repair
Over time, natural stone can lose its brilliance. Common indicators include:
- Visible scratches or dull patches ─ These occur when dirt and debris grind against the surface.
- Stains that don’t come off ─ Without sealing, travertine absorbs liquids, leading to stubborn discoloration.
- Uneven surfaces caused by wear ─ High-traffic areas often show signs of damage sooner.
- Fading of natural color and sheen ─ Prolonged exposure to sunlight or harsh cleaning agents can contribute to this issue.
Identifying these problems early can save you time and money.
Step-by-Step Guide to Revitalizing Travertine
1. Thorough Cleaning Before Any Repair
Dirt and grime accumulate on stone surfaces over time. Start by vacuuming or dusting to remove loose particles. Use a pH-neutral cleaner specifically designed for natural stone. Avoid harsh chemicals like bleach or vinegar, which can cause permanent damage. Rinse thoroughly and dry with a soft cloth.
2. Repair Cracks and Chips
Cracks and chips not only look unsightly but also compromise the stone’s structural integrity. Use a color-matched epoxy or resin to fill imperfections. Apply carefully, smoothing the filler with a flat tool. Allow adequate drying time before moving to the next step.
3. Polishing to Restore Smoothness
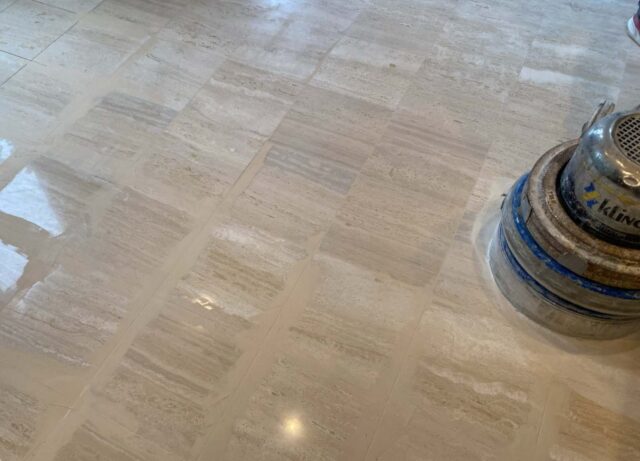
Polishing is vital for enhancing the surface. Professionals often use diamond abrasives in various grits to smooth imperfections and bring out the natural shine. DIY enthusiasts can use polishing powders with a soft buffing pad, but results may vary.
4. Sealing for Long-Term Protection
A high-quality sealant acts as a protective barrier, preventing liquids from penetrating the porous surface. Apply it evenly with a roller or brush, ensuring complete coverage. Let it cure for 24 hours before exposing the surface to moisture.
5. Buffing for Enhanced Shine
Buffing enhances the final appearance. Use a clean, microfiber cloth or a mechanical buffer to achieve a glossy finish. Ensure the surface is dry before buffing to avoid streaks.
Mistakes to Avoid During Restoration
Avoiding errors during the process can save both time and money. Here are some pitfalls to steer clear of:
- Skipping sealing ─ Unsealed stone quickly absorbs stains.
- Using harsh cleaners ─ Acidic solutions can erode the surface.
- Rushing the process ─ Skipping steps like polishing or curing compromises the outcome.
- DIY without adequate research ─ Lack of preparation can lead to poor results.
Each mistake adds unnecessary stress and can lead to costly repairs down the road.
Choosing Professional Restoration vs. DIY
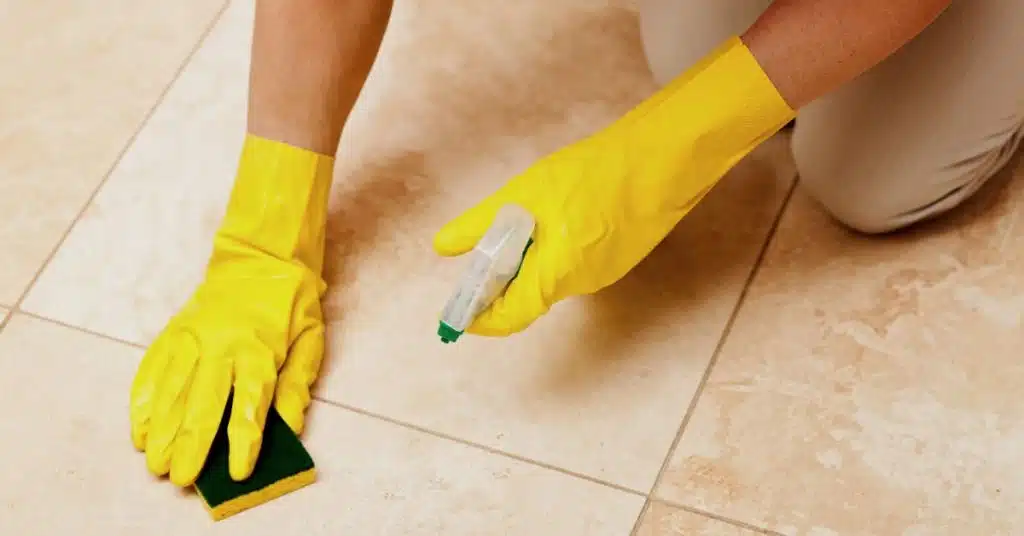
Professional Services
Experts bring tools and techniques that ensure long-lasting results. Certified technicians evaluate the condition of your travertine and create a customized plan. Their advanced methods—like diamond polishing and eco-friendly cleaning solutions—restore not only the appearance but also the stone’s structural integrity.
DIY Methods
While more affordable, DIY restoration requires time, patience, and proper equipment. It works well for minor issues, but significant damage often demands professional intervention. Consider starting with smaller projects to build confidence before tackling larger ones.
Practical Tips for Maintaining Restored Surfaces
Once restoration is complete, ongoing maintenance is essential to protect your investment. Here’s what you need to do:
- Clean spills immediately ─ Quick action prevents staining.
- Dust frequently ─ A soft dust mop keeps abrasive dirt at bay.
- Reapply sealant regularly ─ Every 1–2 years, depending on traffic and use.
- Use protective pads ─ Placing pads under heavy furniture minimizes the risk of scratches.
- Avoid direct sunlight ─ Prolonged UV exposure fades natural stone.
These practices not only preserve the beauty but also reduce the need for frequent restoration.
Understanding the Importance of Professional Inspections
A trained eye can identify underlying issues that aren’t immediately visible. Professionals conduct thorough inspections to assess wear, damage, and potential problem areas. Regular inspections also help determine when it’s time to reseal or polish. This proactive approach ensures your travertine remains in top condition.
Advanced Techniques for Stain Removal and Polishing

Certain stains require more than basic cleaning. Oil-based marks, for example, penetrate deeply and need poultices for effective removal. Professionals use advanced tools like rotary machines and diamond abrasives to tackle such challenges. These techniques not only remove stains but also restore a smooth and uniform surface.
For polishing, diamond abrasives in varying grits ensure precision. Starting with a coarse grit removes surface scratches, while finer grits bring out the natural shine. This meticulous process elevates the overall appearance, leaving the surface flawless.
Long-Term Care for High-Traffic Areas
High-traffic zones, such as hallways or kitchen floors, require extra attention. Placing rugs or mats in these areas minimizes wear. Routine cleaning prevents debris from accumulating and causing scratches.
Regular resealing is especially critical to withstand heavy use. Consider professional maintenance for optimal results in these demanding spaces.
Frequently Asked Questions
How Often Should I Polish My Travertine?
Polishing every 2–3 years keeps surfaces smooth and glossy. However, high-traffic areas may need more frequent attention.
Can Travertine Be Restored After Severe Damage?
Yes, but severe damage often requires professional tools and expertise. Services like grinding or honing can address deep scratches and uneven surfaces.
Are All Sealants the Same?
No, sealants vary in quality and purpose. Some are designed for indoor use, while others offer enhanced protection against outdoor elements. Always choose a product suited to your specific needs.
Conclusion
Travertine surfaces can regain their beauty with the right techniques. From cleaning and polishing to sealing and ongoing care, every step plays a crucial role in restoration. Trusting certified professionals ensures superior results, but DIY enthusiasts can also achieve remarkable outcomes with the proper tools and methods.
With consistent maintenance, your surfaces will stay vibrant and durable for years to come. Take the first step toward revitalizing your travertine today and let its natural elegance shine.


